
In the digital age, maintaining the health and efficiency of your computer is crucial. One way to ensure your Windows system runs smoothly is by regularly clearing its cache. Cache files can accumulate over time, slowing down your computer. This Essential Guide to Windows Cache Cleaners will walk you through the benefits of using Windows cache cleaners and how to choose the right one for your needs.
Cache files are temporary data stored on your computer that help speed up processes. For example, when you visit a website, your browser stores data in the cache so that the next time you visit, the page loads faster. Similarly, Windows stores temporary files to improve performance.
However, as these files accumulate, they can consume valuable disk space and slow down your system. That’s where a Windows cache cleaner comes in handy.
Why You Need a Windows Cache Cleaner
Improved System Performance
Over time, cache files can bog down your system, leading to slower performance. By regularly cleaning your cache, you can improve your computer’s speed and responsiveness. This is especially important for users who frequently install and uninstall programs, as these processes often leave behind temporary files.
Free Up Disk Space
Cache files can take up a significant amount of disk space, especially if they are not regularly cleared. A cache cleaner helps free up this space, giving you more room for important files and applications.
Enhanced Privacy
Cache files can also contain sensitive information, such as login credentials and browsing history. Using a cache cleaner ensures that this information is securely deleted, enhancing your privacy.
Types of Cache Files in Windows
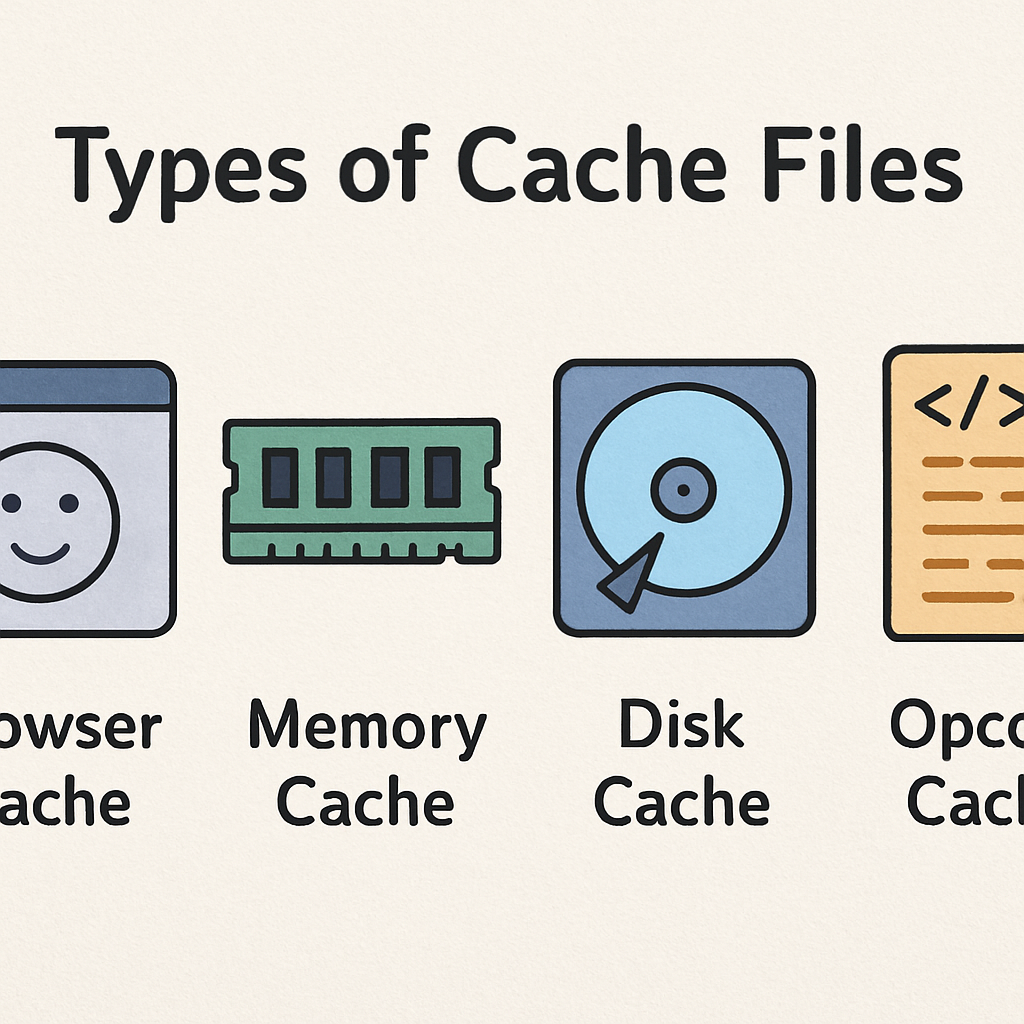
Understanding the types of cache files on your system can help you make informed decisions about what to clean. Here are some common types:
- Temporary Files: Created by the system or applications for temporary storage.
- Browser Cache: Stores website data to speed up browsing.
- System Cache: Includes various temporary system files.
- DNS Cache: Stores DNS lookups to reduce network latency.
- Thumbnail Cache: Stores thumbnail images for faster file browsing.
Top Windows Cache Optimization Tools
CCleaner
CCleaner is one of the most popular cache cleaning tools available. It offers a user-friendly interface and a range of features to clean temporary files, browser cache, and more. It also includes a registry cleaner to fix broken entries.
- Pros: Easy to use, comprehensive cleaning options, free version available.
- Cons: Some features require a paid version.
BleachBit
BleachBit is a free, open-source tool that can clean cache files, delete cookies, and more. It’s known for its straightforward interface and powerful cleaning capabilities.
- Pros: Free and open-source, effective cleaning, lightweight.
- Cons: Limited advanced features compared to paid tools.
Wise Disk Cleaner
Wise Disk Cleaner is another excellent tool for cleaning cache files and optimizing system performance. It offers a deep clean feature that scans and removes unnecessary files.
- Pros: Fast scanning, deep cleaning options, free version available.
- Cons: May not offer as many features as some premium tools.
Advanced SystemCare
Advanced SystemCare is a comprehensive system optimization tool that includes cache cleaning features. It’s designed to improve overall system performance with a variety of utilities.
- Pros: Comprehensive system optimization, user-friendly interface.
- Cons: Some features are only available in the Pro version.
How to Choose the Right Cache Cleaner
When selecting a cache cleaner, consider the following factors:
- Ease of Use: Look for a tool with a user-friendly interface that doesn’t require technical expertise.
- Features: Consider what types of cache files you want to clean and ensure the tool supports them.
- Price: Many cache cleaners offer free versions with basic features, while advanced features may require a paid subscription.
- System Compatibility: Ensure the tool is compatible with your version of Windows.
Read more: guide on Tips to Speed Up Windows Startup
Step-by-Step Guide to Using a Cache Cleaner
- Download and Install: Choose a cache cleaner that suits your needs and install it on your computer.
- Run a Scan: Open the tool and run a system scan to identify cache files that can be cleaned.
- Review the Results: Review the list of files identified for deletion and select those you want to clean.
- Clean the Cache: Initiate the cleaning process to remove the selected cache files.
- Schedule Regular Cleanings: To maintain system performance, schedule regular cleanings.
Conclusion

Regularly cleaning your Windows cache is essential for maintaining optimal system performance. By selecting the right cache cleaner and following best practices, you can keep your computer running smoothly, free up valuable disk space, and protect your privacy. Whether you choose a free tool like BleachBit or opt for a comprehensive solution like Advanced SystemCare, the benefits of using a cache cleaner are clear. Keep your system clean and efficient with regular cache maintenance.